ldd on Mac OS X

I was used to use ldd on Linux and Solaris to print out the dynamic library linkage.

However, there is no ldd on Mac OS X but a equivalent tool called otool.

Here is the usage:

Usage: otool [-fahlLDtdorSTMRIHvVcXm] <object file> ...
	-f print the fat headers
	-a print the archive header
	-h print the mach header
	-l print the load commands
	-L print shared libraries used
	-D print shared library id name
	-t print the text section (disassemble with -v)
	-p <routine name>  start dissassemble from routine name
	-s <segname> <sectname> print contents of section
	-d print the data section
	-o print the Objective-C segment
	-r print the relocation entries
	-S print the table of contents of a library
	-T print the table of contents of a dynamic shared library
	-M print the module table of a dynamic shared library
	-R print the reference table of a dynamic shared library
	-I print the indirect symbol table
	-H print the two-level hints table
	-v print verbosely (symbolically) when possible
	-V print disassembled operands symbolically
	-c print argument strings of a core file
	-X print no leading addresses or headers
	-m don't use archive(member) syntax
	-B force Thumb disassembly (ARM objects only)


To use it like ldd, just type

otool -L executable

For example:

$ otool -L a.out
a.out:
	/usr/lib/libstdc++.6.dylib (compatibility version 7.0.0, current version 52.0.0)
	/usr/lib/libSystem.B.dylib (compatibility version 1.0.0, current version 159.0.0)
unsigned long DOES NOT work on SOLARIS

When I doing an assignment of mine, I found the output of my Mac and school Solaris system is different which should be the same.

After a series of testing, I found that unsigned long does not work on solaris. It works same as unsigned int.

Look at the C code here:

/* Author Name: Need-Being
   Modification Date: 17/08/11
   File Description: Test unsigned int and unsigned long */

int main()
{
        unsigned int a = 0;
        unsigned long b;

        a = ~a; /* Make it maximun of unsigned int */
        b = a;
        b += 1;

        printf("%u\t%lu\t%s\n", a , b, (a < b)?"Works":"Does not work");
        printf("%d\t%d\n", sizeof(unsigned int), sizeof(unsigned long));

        return 0;
}

The output should be “4294967295 4294967296 Works” and “4 8”.

However, the actual output is

$ a.out
4294967295 0 Does not work
4 4

The unsigned long behaves the same as unsigned int.

Test is processed on a sparc machine in my faculty:

$ uname -a
SunOS banshee 5.10 Generic_144488-17 sun4u sparc SUNW,Sun-Fire-V240

Windows无法正确读取GUID分区表

为了更好地利用移动硬盘资源,我把自己的一个500G的硬盘进行处理,把另外的250G移动硬盘上的资料整合到500G的硬盘里。

为了不破坏250G硬盘里的分区信息。我对500G的硬盘进行重分区,以便把250G硬盘里的分区克隆到500G的硬盘里。(500G硬盘里东西暂时存到750G的主机硬盘里)

然而在分区的时候发生问题了。

Mac分区使用的是GUID分区表,是和Windows用的不一样的方案。Windows下的MBR分区表方案只能支持4个主分区(扩展分区算主分区)和多个逻辑分区。在用GUID分区表分区之后,所有的分区会被认为是主分区。

问题就出在这里。当我给硬盘分5个区的时候,Windows却认不出后面的2个分区了。
反之,把认出来的区为 EFI分区,第一个分区,第二个分区,第三个分区,一共4个分区(即被认为成了主分区,达到Max)。

所以我没有办法只好把mac分区往后挪(反正Windows也认不出)。为了能够读写磁盘和突破单个文件4G的问题,我使用exFat格式格式化硬盘。

注:exFat对于Windows平台仅仅WinXP以后才支持(WinXP需要安装最新的更新)

MBP991更换硬盘详解

09年的时候买的Macbook Pro已经用了一年半多了。250G的硬盘渐渐地也快撑满了。虽然我有2块500G硬盘,但是也基本上塞得差不多了。所以,我特地和同学一起去躺悉尼(2011年7月30日・星期六),到MSY买了一块750G的日立硬盘。同学的话,买了块AMD主板和CPU(型号未知)。

当天晚上我就在 azuis 家给我的Mac开始安装新硬盘。

需要的内容:
1. MacBook Pro (任意机型,我这里为MacBook Pro 13″ Mid 2009, MBP991)
2. Hitachi HTS547575A9E384 硬盘一块(750G, 5400rpm)
3. T6螺丝刀
4. 小的十字螺丝刀
5. 细心的操作员

选硬盘的话,首先摒弃了7200rpm的硬盘。性能虽然高,但是耗电太多,会使得MBP991的续航能力下降到3小时。同类产品的WD硬盘,更贵,而且从参数上来说没日立的好。日立的HTS547575A9E384相对比较安静。希捷的混合式硬盘,因为驱动问题,也不考虑。

好,说了这么多,现在开始正式拆装升级硬盘(强占azuis的桌子!):

MBP991更换硬盘详解01

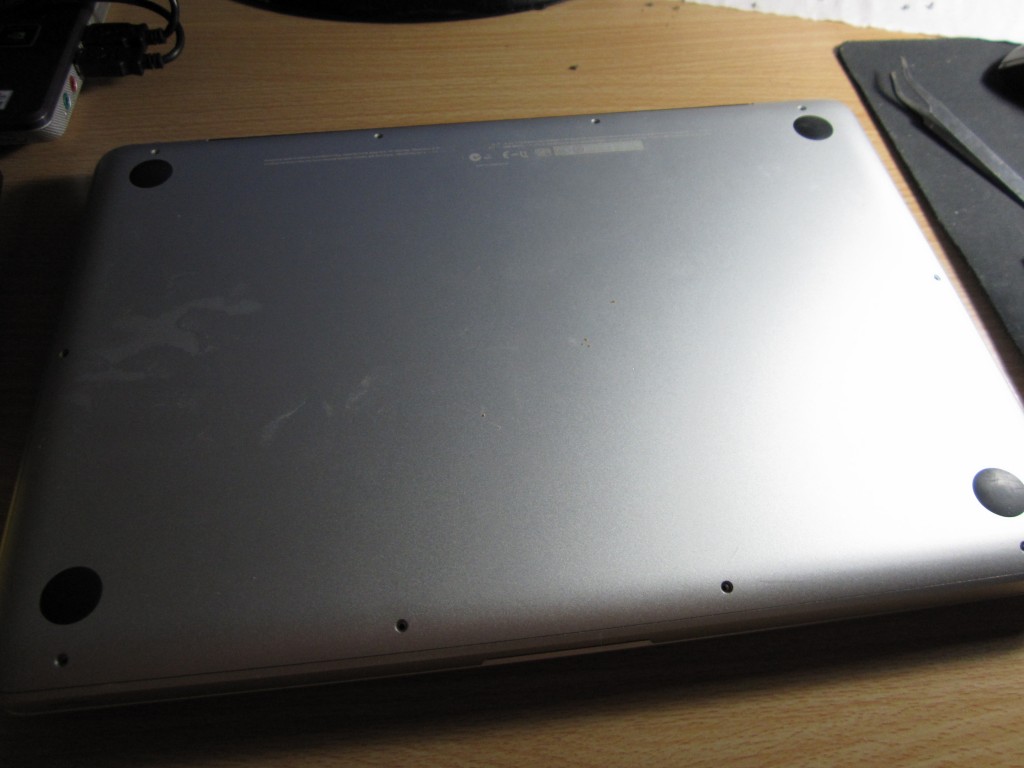
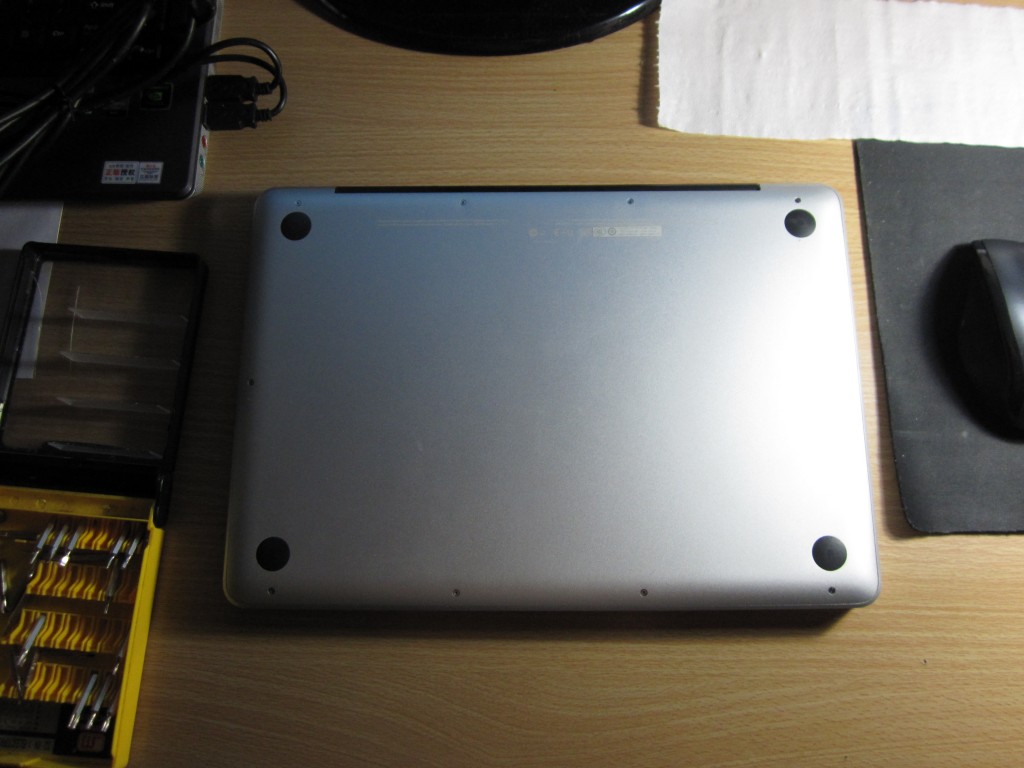
1. 如上图所示,把MBP翻过来,风扇口朝上。小心拧掉10个十字螺丝。(别忘了关机哦,亲)

MBP991更换硬盘详解02

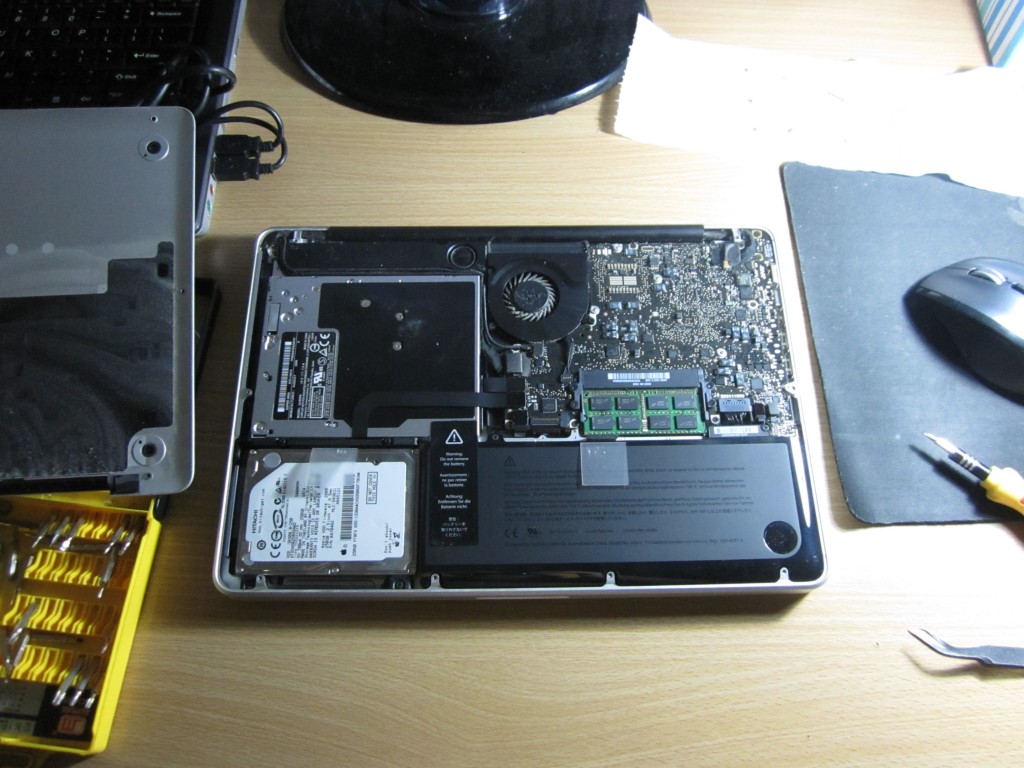
2. 拆开后盖之后,可以发现硬盘在MBP的左下方。先用手触碰左侧光驱金属部位以消除静电。断开电池电源接口(这步可略过)。

MBP991更换硬盘详解03

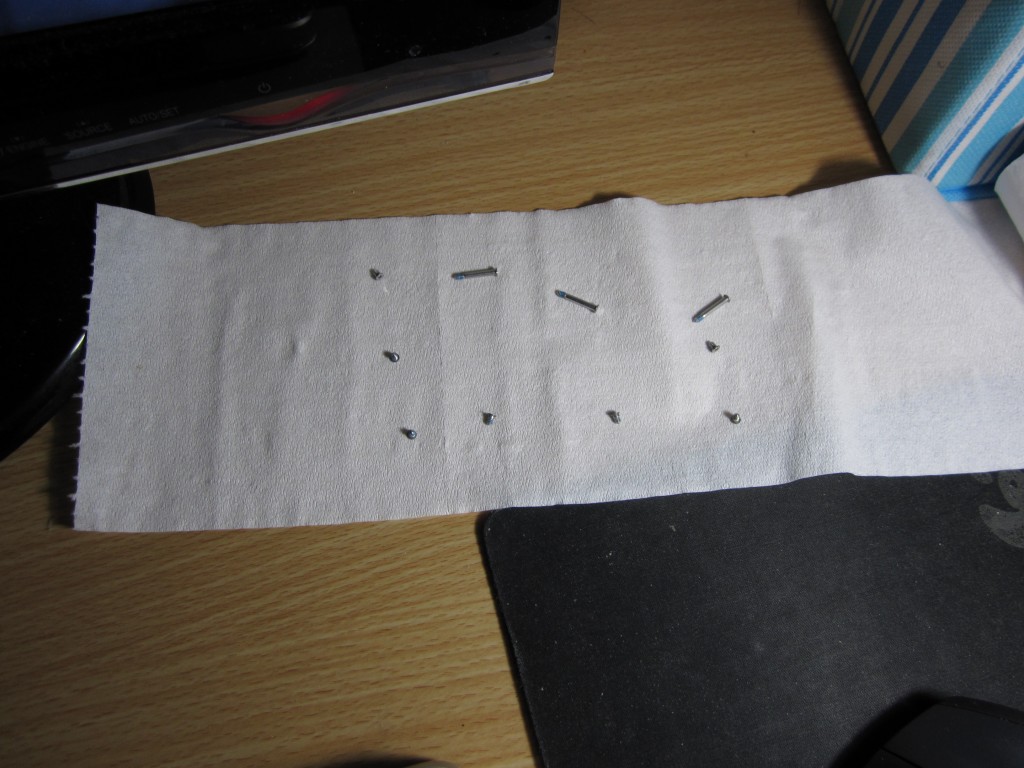
3. 小心放置螺丝,避免掉落到其他地方。还有就是按照位置摆放好,避免等下装回去的时候错位。

 MBP991更换硬盘详解04

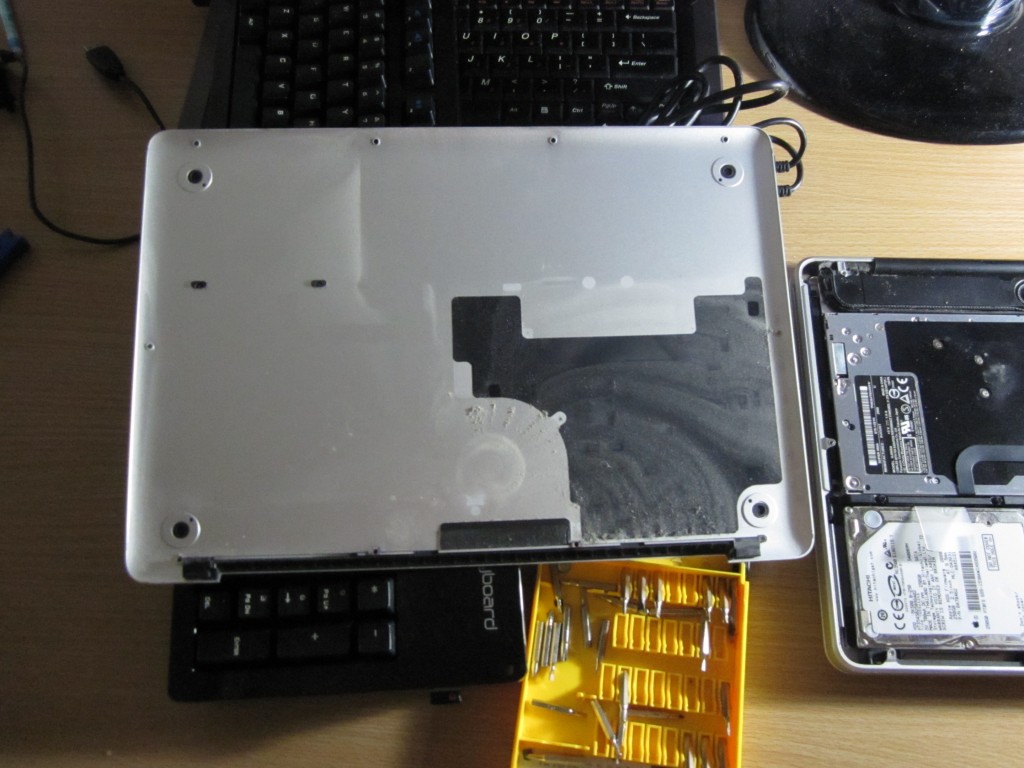
4. 拆开的底座外壳又很多灰,毕竟已经用了近2年了。赶紧把灰清理了…

MBP991更换硬盘详解05

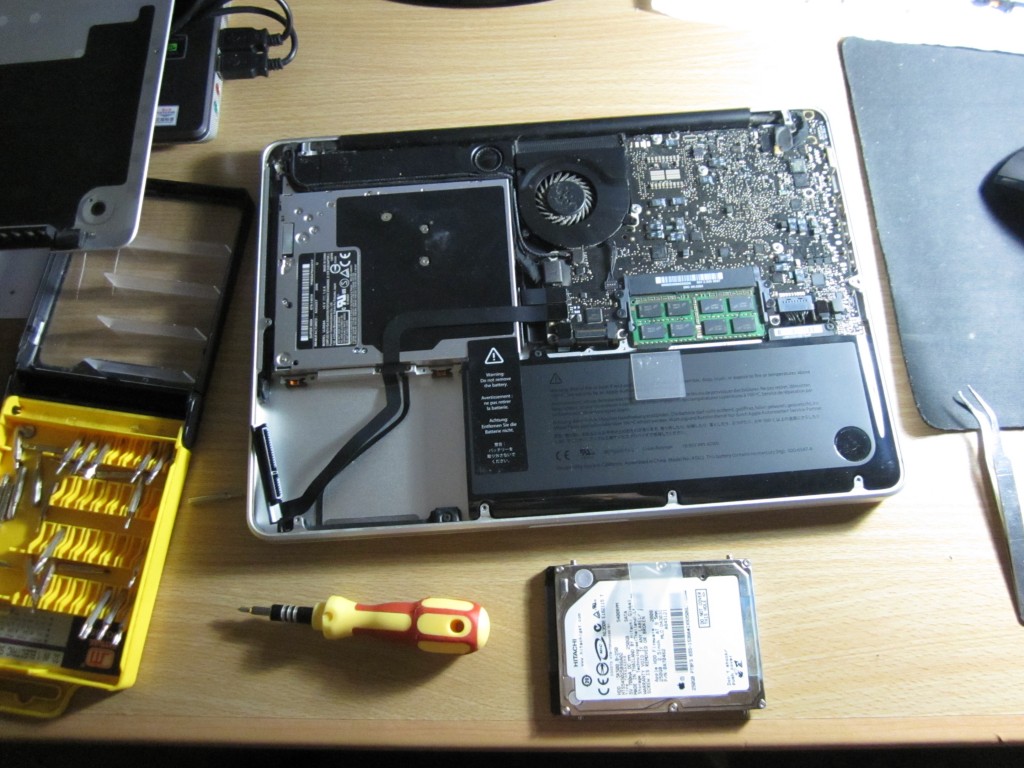
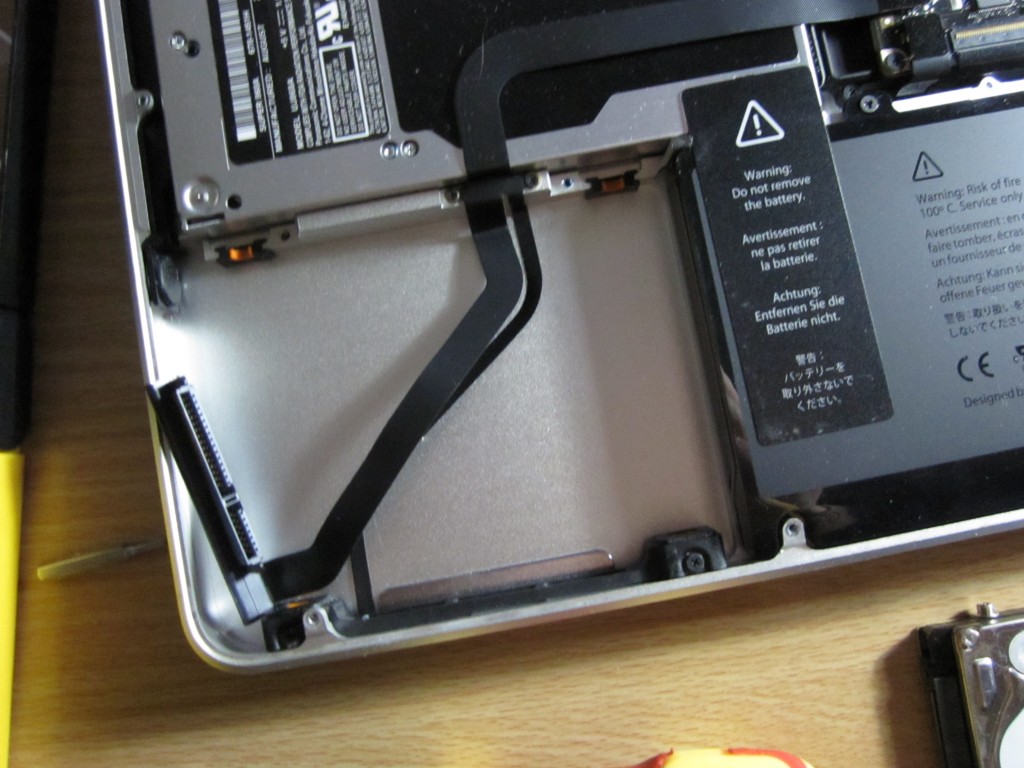
5. 用十字螺丝刀把硬盘和光驱之间的两个螺丝拧松,并把卡子取出。这样我就可以很方便地把硬盘取出了。取出之后小心地把硬盘接线拔掉。

MBP991更换硬盘详解06

6. 近距离观察…其实苹果这个设计不错的。

MBP991更换硬盘详解07

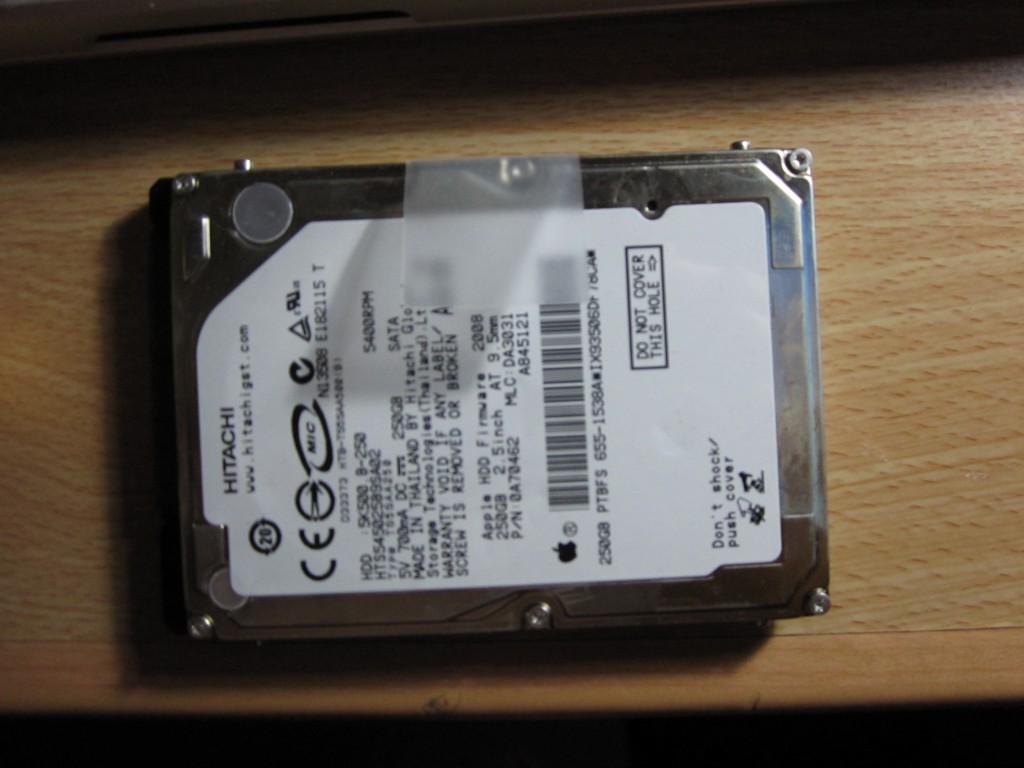
7. 要被换下来的是苹果原装的 日立250G 5400rpm 的硬盘(型号HTS54502509SA02)。该硬盘四周的4个T6螺丝用T6螺丝刀拧下来,以装到新硬盘上。

MBP991更换硬盘详解08

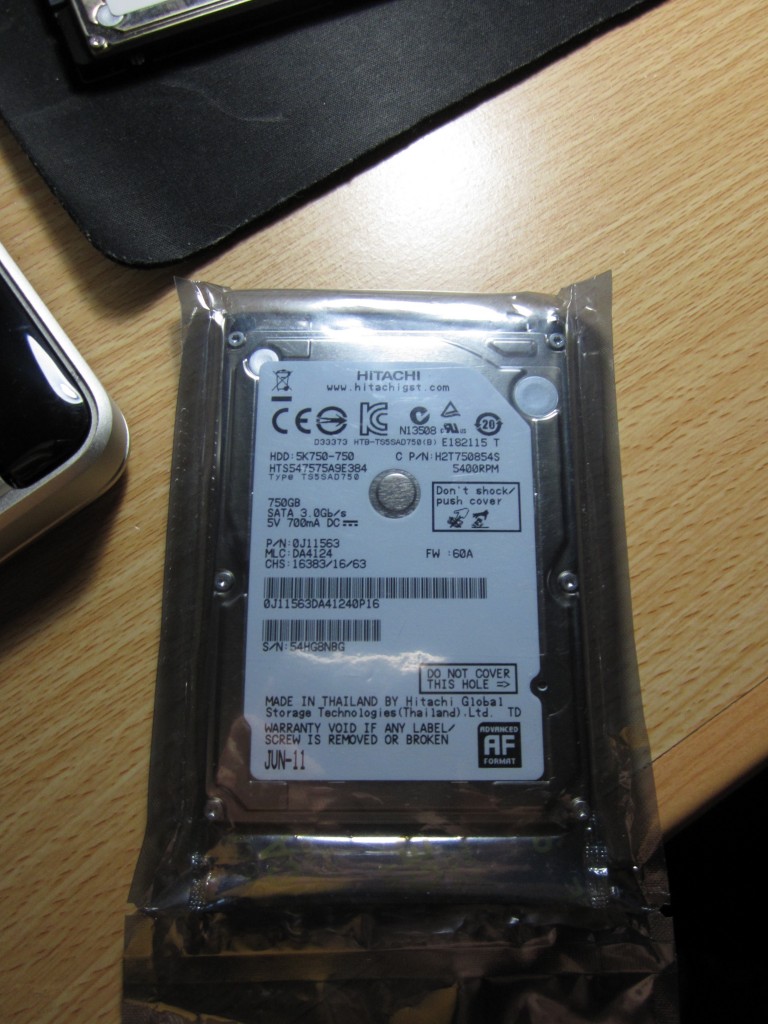
8. 新硬盘登场!!!Hitachi HTS547575A9E384!!!

MBP991更换硬盘详解09

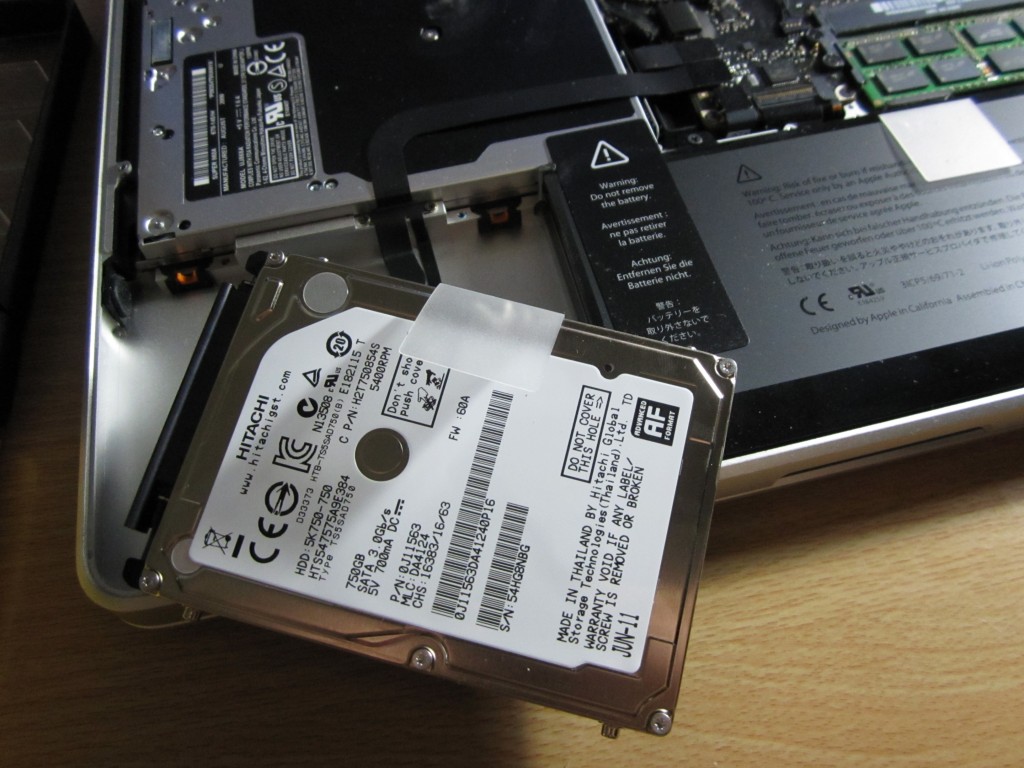
9.  用T6螺丝刀把T6拧到新硬盘上去。贴上曾经那个硬盘上的透明胶带(用于下次方便取出硬盘,可以选择略过)。并小心接上硬盘接线,放入MBP机体内。(在第2步断开了电池电源的话,在这里把电池电源接上)

MBP991更换硬盘详解10

10. 盖上后盖,拧上螺丝即完成。当然在此之前你可以再做做清灰工作。

MBP991更换硬盘详解11

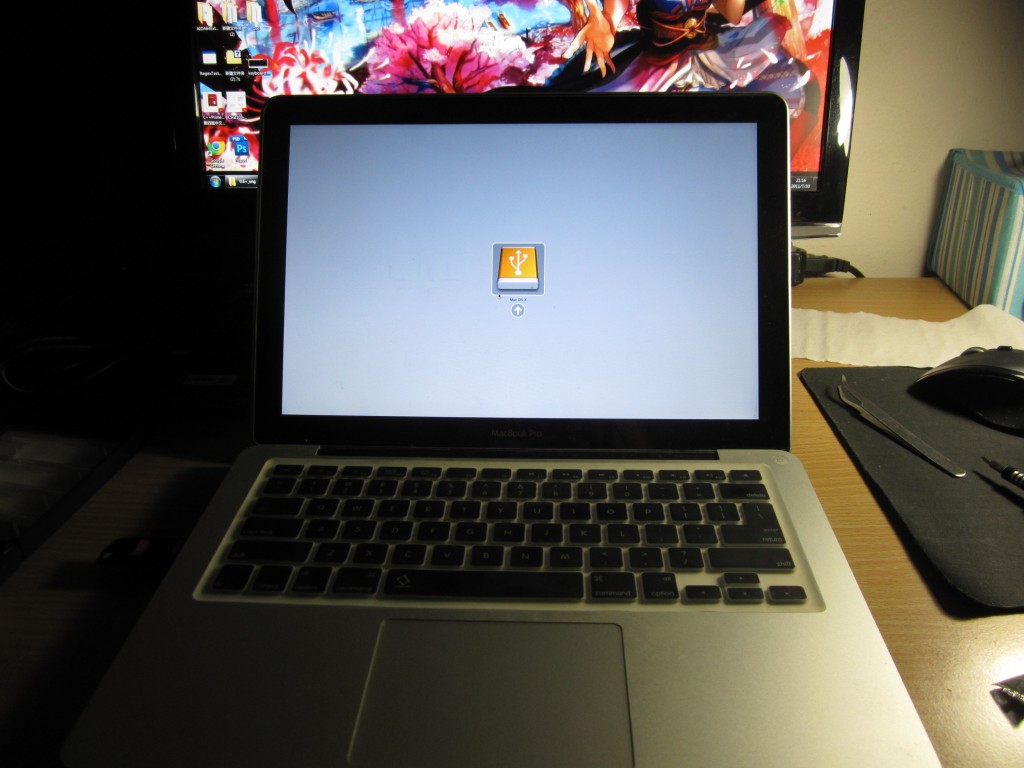
11. 把MBP放正,开启装系统!(当然可以选择把原来硬盘上的系统通过“磁盘工具”克隆回来)
至此,MBP更换硬盘的操作旧全部结束了。可以发现,还是很简单的。
现在有个750G的硬盘了,有的折腾了。